This was my
Favorite part of her nursery and project that I've done all summer! We have closet issues in our entire place, and I knew this would have to be changed the minute I found out I was pregnant (yes already was worried where I would put all her clothes!) I started pinning, and brainstorming how could I do the best closet for our baby as well as expanding storage space in her nursery also on a budget. The room is very tiny, therefore knew the closet would have to be our main storage area, and needed to be as organized as possible especially early on with all of the things a baby needs!
I found the best system for us was the
Closet Maid custom closet organizer from Home Depot. $100 then one drawer small for accessories
Small Drawer $30 and two
Deep drawers $42 each, white basket $30. I ended up buying white shelves and cutting them to what we needed, and added one more extra rods for hanging vs the 4. Total cost of closet maid $300 then fabric approximately $60
Total: $360 DIY Custom Closet
 |
| Before as you can see just not working! |
 |
| All cleaned out |
 |
| Step one |
Now I did have doors on but knew this small corner was only place for glider and took the doors off permanently. I really love seeing all her stuff and the extra space it gave our room. I would highly recommend wallpaper vs upholstering with fabric! I had to use special almost like L brackets, and a staple gun to do this. I used the L brackets for the corner so they were smooth, and even to add the rest of fabric to the sides of the closet. This was SOO much work! Wallpaper if possible!!
 |
| see how the seam is almost perfect? worth the extra work! |
Then we moved onto the shelving system
The shelves ended up being more work than we expected.. The wall on the right was 1/2" off left to right. We had to custom cut each shelf to make it fit correctly.
 |
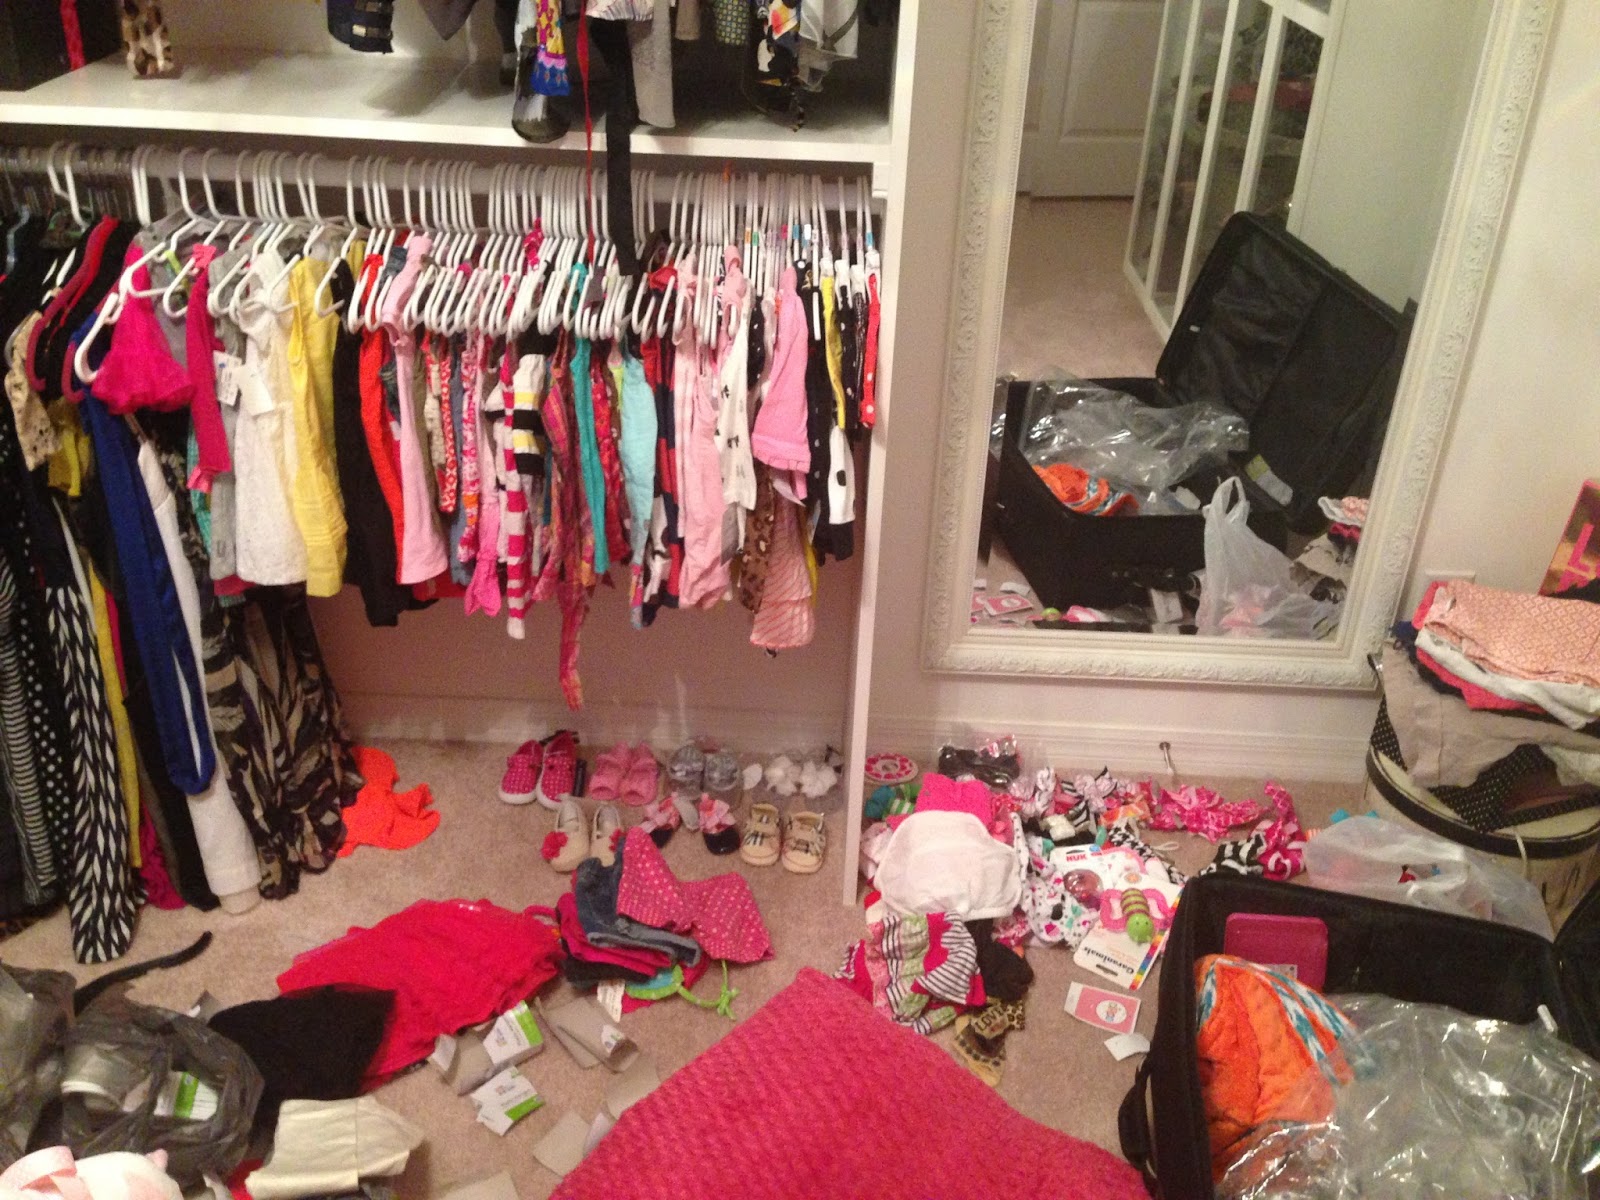
| Stella's clothes taking over mine! |
 |
| Accessories drawer! |
 |
Closet complete!
|
 |
| before you can see the change with paint color and closet |
 |
| after |
I am so happy with the final product! I am so glad I did this 4 months pregnant vs 8 months now! I can't imagine the labor and work this took with help! Now all I need is Stella to arrive!